Why Businesses Want to Launch a Shop Inside Chat
Modern customers prefer buying directly inside messaging apps instead of being redirected to external websites. A native in-chat shop reduces friction, shortens the purchase journey, and significantly improves conversion rates. A well-structured shopping app follows this behavior by keeping discovery, checkout, and order communication in one familiar environment.
However, when entrepreneurs search for guides on how to set up a shop in chat, they usually encounter overly technical instructions that involve coding, hosting, API integrations, and long development cycles. Many of them are not looking for complex shop bots; they need a practical shop bot they can launch and manage.
In practice, most businesses are not looking for a development project — they want a ready-to-use system that works immediately inside the messenger. That is the main reason telegram shopping is moving toward managed, no-code tools instead of custom builds.
The Traditional Way: Complex Setup and External Dependencies
The classic approach requires building a custom bot, setting up servers, writing backend logic, and integrating payment providers manually. This creates multiple points of failure and ongoing maintenance overhead. For telegram shop bots, every extra integration can add another operational risk.
A typical manual setup includes:
- Custom bot development and scripting
- Server hosting and infrastructure management
- Manual product catalog implementation
- Third-party payment integrations via APIs
- Custom order and delivery logic
For small businesses, creators, and digital sellers, this approach is slow, expensive, and difficult to scale. It also makes a simple telegram shopping bot feel like a long engineering project.
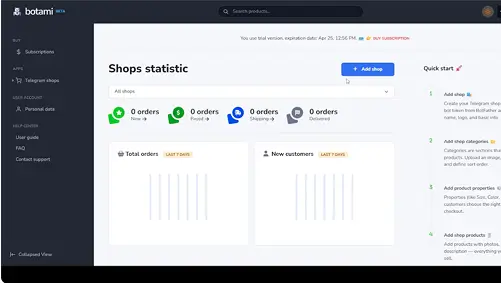
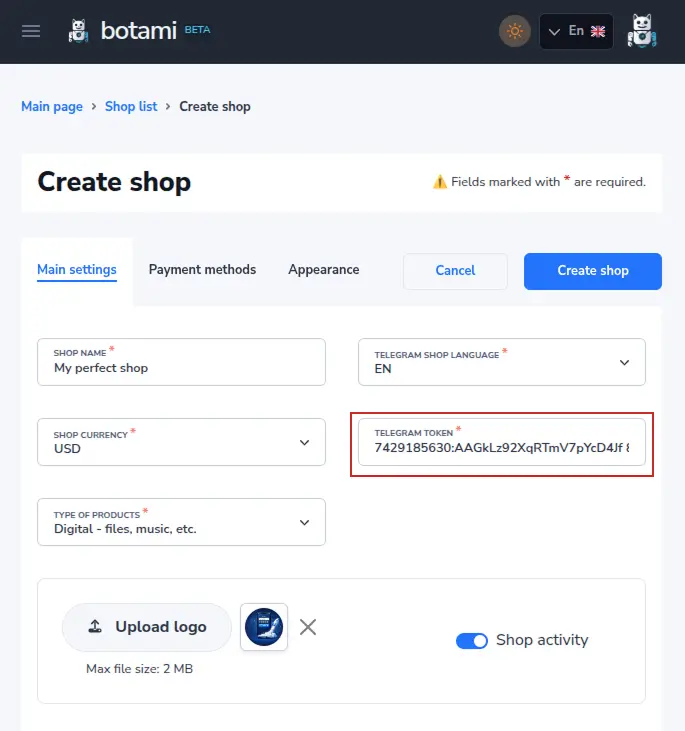
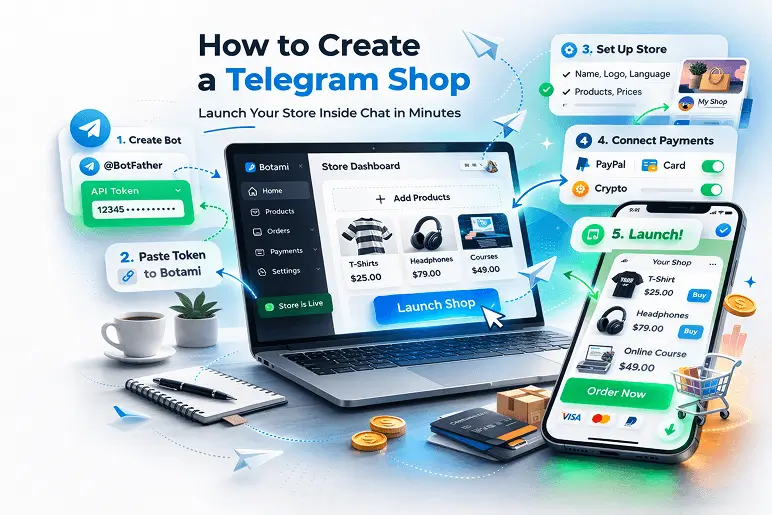
How It Works in Botami: Simple and Fully Managed Setup
With Botami, the process is fundamentally different from traditional development. Instead of building infrastructure from scratch, you create and manage your entire shop inside a dedicated CMS designed specifically for in-chat commerce.
The platform handles product logic, checkout flows, automation, and customer experience natively, so you do not need coding skills, external hosting, or third-party builders.
This allows businesses to launch faster while maintaining a structured, professional shopping experience directly inside chat. The result is a cleaner telegram shopping experience for customers and a simpler admin workflow for merchants.
Payments and Checkout Without External Websites
A common challenge when launching an in-chat shop is payment integration. Traditional setups require external checkout pages, redirects, and third-party ecommerce systems.
With Botami, checkout is designed to operate natively inside the chat experience. Customers can complete their purchase flow without being redirected to separate websites or complex external funnels.
This creates a seamless buying journey where browsing, ordering, and payment happen in one consistent environment, improving trust and conversion rates. It also helps a telegram shop bot feel like a complete storefront, not just a chat command interface.
No Coding, No Hosting, No Technical Maintenance
One of the key differences in the Botami approach is the removal of technical overhead. Traditional implementations require backend development, server monitoring, updates, and ongoing maintenance. This matters for telegram shop bots because merchants need stable sales flows, not constant technical supervision.
In contrast, Botami provides a fully managed infrastructure where:
- No coding is required to launch or manage the shop
- No servers or hosting need to be configured
- No external integrations are mandatory for core functionality
- No manual bot scripting is needed
This makes the platform especially suitable for entrepreneurs, creators, and small businesses that want a professional shop without hiring developers or building custom systems. It gives them a telegram shopping app experience while keeping management inside a simple CMS.
From Setup to Launch: How Fast It Works in Practice
The actual launch process inside Botami is intentionally streamlined. After connecting the bot token and configuring your catalog, the shop becomes operational immediately as a native mini app. For a telegram shop bot, this means the path from setup to live selling stays short and predictable.
There is no need for long deployment cycles, domain configuration, or external infrastructure management. The merchant controls the entire lifecycle — from setup to scaling — directly inside a single CMS environment. This is useful for brands that plan to test telegram shopping first and then expand into more telegram shop bots later.
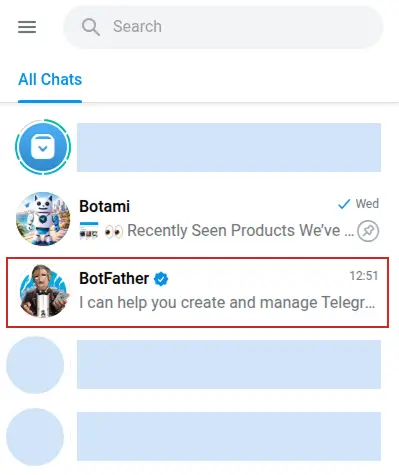
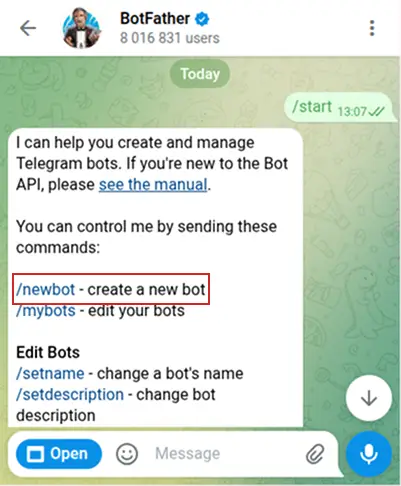
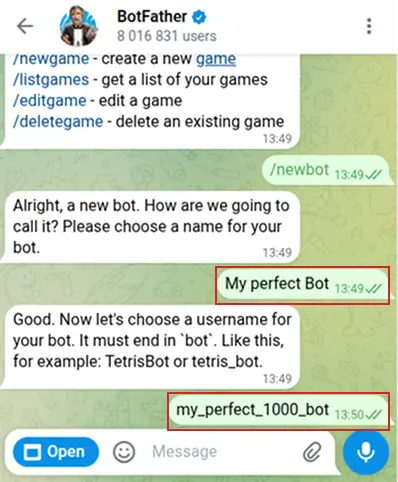
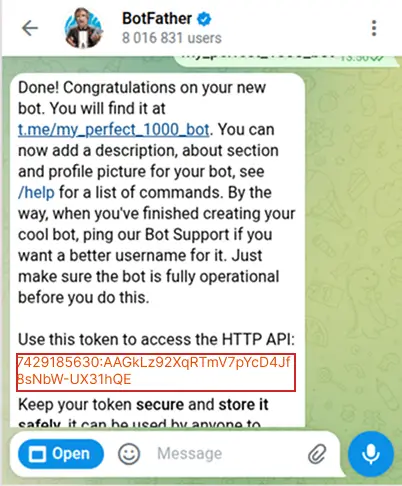
As messaging-first commerce continues to evolve, platforms like Botami transform what used to be a complex development project into a simple operational workflow: create a bot via BotFather, configure everything inside the CMS, and start selling inside chat without leaving the ecosystem or relying on external technical tools. This keeps telegram shopping practical for everyday businesses and positions the telegram shopping bot as a real commerce channel.